I have just started making a floor standing sculpture .
Up to now I have only made the first section.
I am not sure what sort of top I will make I will have to give it a bit of thought.
This is made from some green Oak kindly given to me by my Nephew Matt.
This piece is 28" long 6" x 6"
I have cut it on the badsaw to 3" x 3" top and 5" x 5" on the bottom.
First slice removal.
Note that the blade guide is brought down close to the wood for safety and to support the blade.
All four sides are now removed.
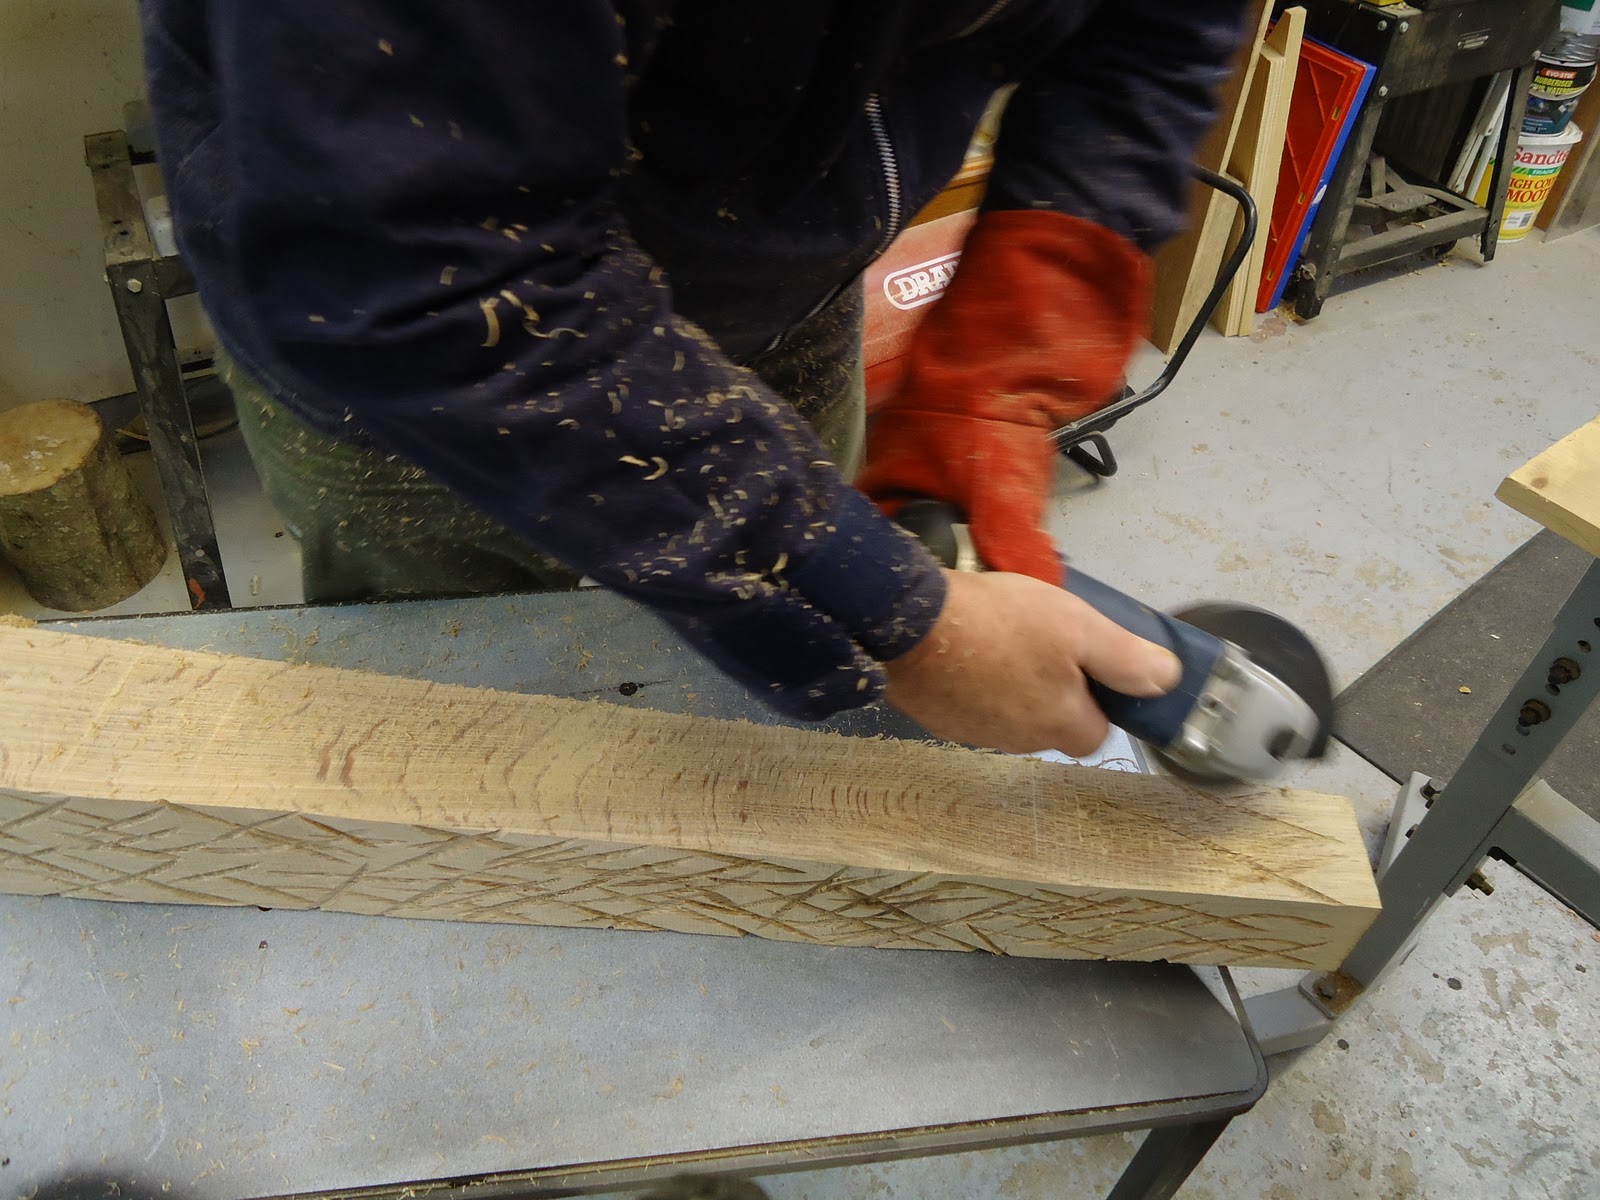
Now I am ready for my first bit of texturing and colouring.
For this texturing I am using a 3" chainsaw toothed miny grinder.
Please note whenever I use one of these I always wear a welders glove on my left hand.
I don't know whether it would save me in an emergency but i am sure it would help.
Just a rough pattern.
That is that done.
I am always pleased to finish this bit as I don't really like using it.
Time for scorching.
Always have a spray bottle of water handy when scorching an never use a dust extractor.
A small spark can live for a long time in a dust extractor.
Thats that done.
Next i go over it with this wire brush to soften the edges.
Now i will colour it with green Chestnut spirit stain applied with a diffuser.
That is that covered.
Now i want to add a bit more colour and texture.
For the texturing i will use the Proxone with a chainsaw toothed cutter.
This is more controllable than the mini grinder.
Just a light texture.
Now
I will add some red to brighten it up. after another light scorching to get rid of any fluff.
Red Chestnut spirit stain applied with the diffuser.
Although you cannot see it in this pic the green does show up as you can see in this next close up.
Yellow has been sprayed over the top I always finish with yellow as it seems to liven up the colours.
That is as far as i have got I now need to put on my thinking cap and design a top.
Suggestions welcome.
I have decided to try an Obelisk shaped top.
I have cut it to shape on the bandsaw.
I am going to carve it lightly with the Axminster carver a good tool but it does get very hot.
A light bit of carving and ready to scorch.
I don't know why but i seem to scorch everything.
Scorched.
Now time to apply some colour:red Chestnut spirit stain.
I am Happy with that.
Lets see what the completed thing looks like.
I am not at all happy how this has turned out.
The proportions are all wrong so it is back to the drawing board and see if i can make some improvements.
I have given this some thought and looked at a lot of pics.
I have always been interested in shells and fossils so i have made a top using this for inspiration.
I felt that It needed something bigger and bolder but I do not have very much big pieces of Oak.
Luckily a member of our woodturning club Giles brought me in a nice lump of Oak a couple of days ago.
As you can see this is quite green but OK for this job.
This is the piece roughed out to shape .
I wanted to get a spiral shape and tried tape a handsaw and a pencil.
None of these worked so i just did it by eye.
To create the carved spiral I have used my mini grinder with the chainsaw cutter.
I first carved the shape and then the groove pattern.
I have mounted it now on the same pedestal as before as i like the contrast between the colouring and the bare wood.
On one pic it is shown with the middle section and one without as I am not sure yet which is best
I am also tempted to give the top a light scorching but I am not sure.
The temptation to scorch became too great so here is the result and I am pleased with it.
Click on the pic to make it bigger.
Thats it final pic.
The top two parts are on a dowel and fixed with hot melt glue.