feedspot.com/wp-content/uploads/2017/11/woodturning_216px.png

Sunday 30 January 2011

Wall plaque or wall plaques

We start of with two boards of Yellow Pine one foot wide and two feet long.

                                                       Click on pics to make them bigger.
Now we mark the center and fix a 6" face plate on and for added safety i have screwed straps to either side.

Because this is a square it is quite well balanced and i turn it at 350 RPM.

Starting from the center I turn  circles at various radius's It is not necessary to make space each circle accurately.
This is done with the only tool I will use for this project a 3/8" spindle gouge.
As you can see I have turned the Headstock to the side and use the Jet free standing tool rest.
The important thing when cutting the circles is to make sure you are cutting not scraping.
If you scrape you will get tear out on the cross overs.
The handle of the gouge is kept low and the cut is at two O clock.

Note the fine shavings this is because the wood is being cut not scraped.
Now we have the first set of circles and as you can see they are spaced wider as i move out.
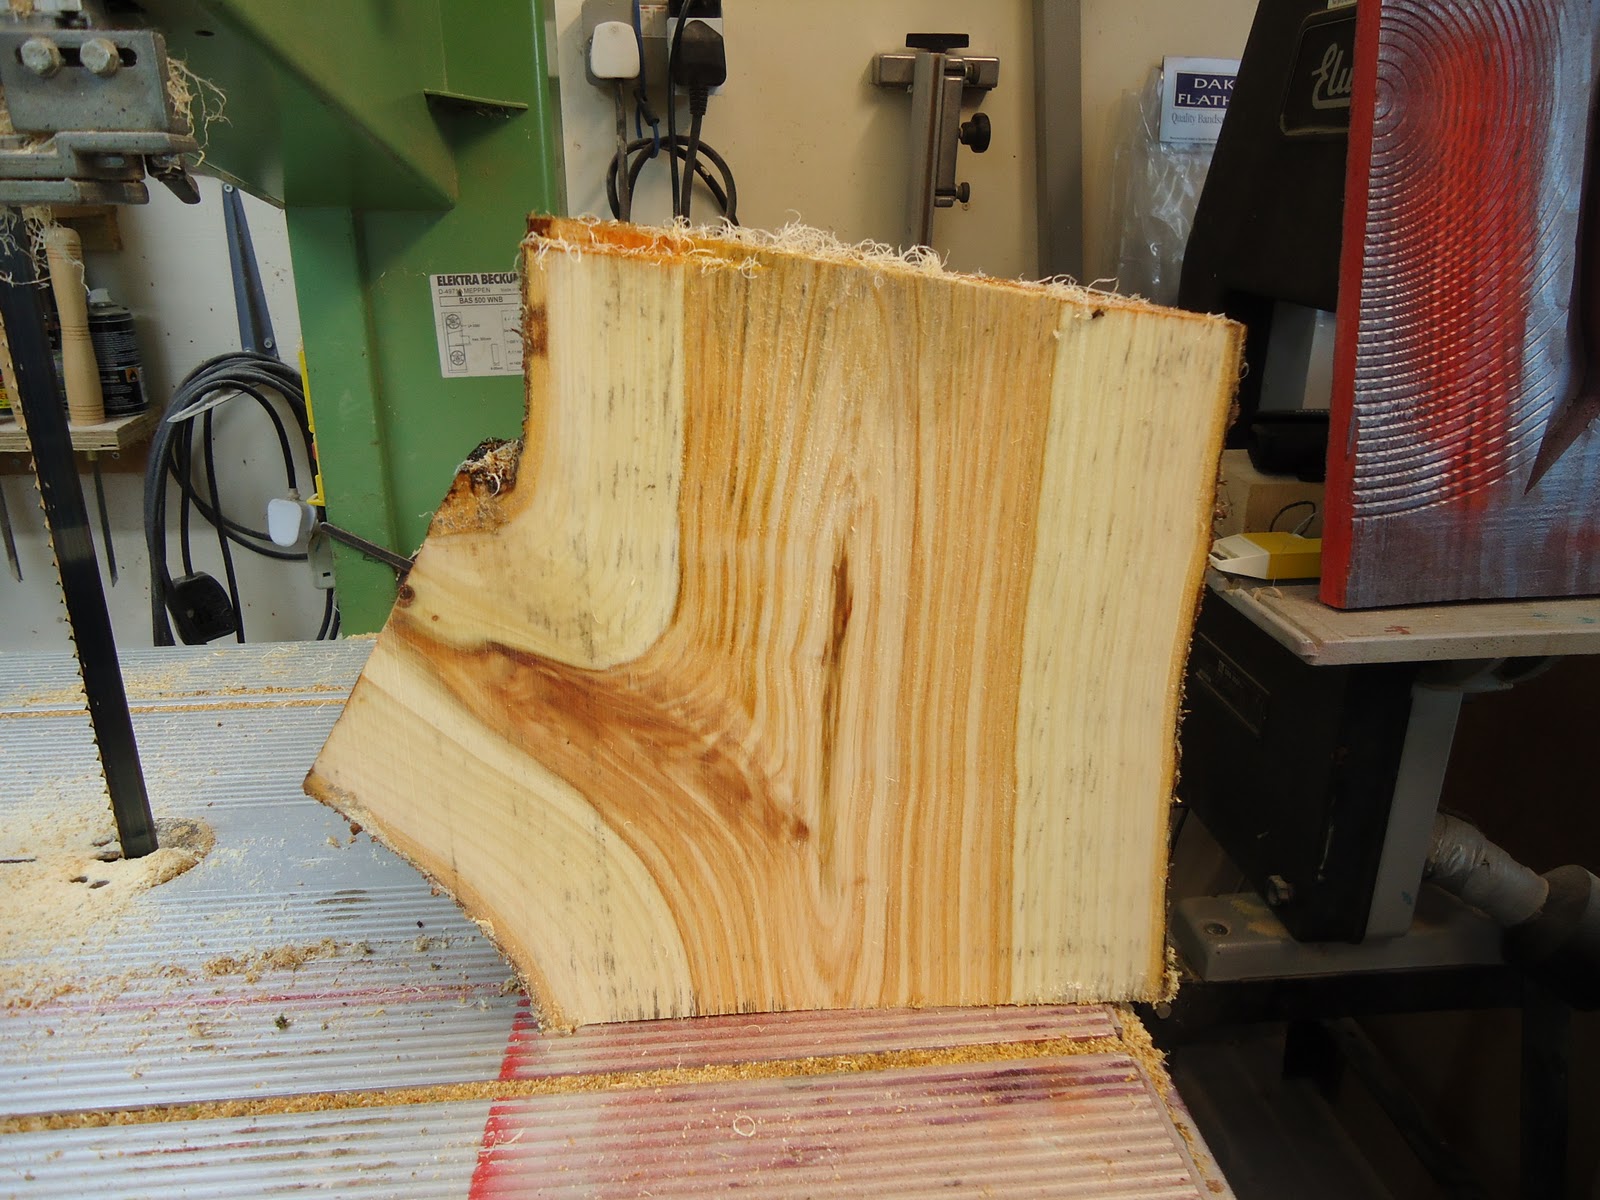
Having completed as many of the circles as I require the piece is removed from the lathe ready for the next set up.
The two boards are now swapped from side to side ready to commence the next set of circles.
As you can see we now have half circles top and bottom.
Now we can make the next set of circles as the following pic shows.

The piece is removed again and the two boards are sawn in half.
We now have four one foot by one foot squares.
These are placed together and a 6" faceplate fixed.
The faceplate is positioned so that there are two screws in the corner of each square,
For added safety I have attached two straps plus two short ones to keep it all together.
I am keeping to the same lathe speed 350 RPM.

This is now re mounted and the last set of circles turned as the following pic shows.
That is all the turning finished and the piece is ready for coloring.
Before i start scorching and coloring I clean up below the lathe to avoid the risk of fire.
That done and the lathe turned off i scorch the whole piece,
This quite a light scorch and very random.
With the piece now completely scorched it is time to apply color.
For my colors I am using Chestnut Spirit stains applied with a diffuser.
This is a method I learned from Nick Agar.
For them that are not familiar with a diffuser it is two pipes set at a 90% angle to each other and by blowing in one with the other in the spirit stain you create a spray.
These can usually be bought in good Art shops.

The first color is Red and applied over the whole piece.I am not worried if it is not uniform as this adds to the final finish.

On top of the Red I have applied Blue then Purple.
Now Yellow is sprayed over the complete piece this softens the colors and makes them blend together.
Three coats of Chestnut Acrylic satin lacquer is applied to the whole piece.
After the Lacquer has dried i apply some more yellow spirit stain.
I put the last coat of spirit stain on top of the lacquer so that it shows up better as it is not soaked into the other colors,
Another three coats of lacquerer has been applied and they are removed from the lathe.

We now have four different but matching wall plaques .
They can now be hung as a set or as you will see in the next pics one large wall plaque.
These are going to be put in a frame which will be made by my mate Richard Fairbrother who is a furniture maker.
We will probably make the frame from MDF and leave it unpainted.
The next pic gives you an idea of what they will look like framed.
Richard will make the frame in the next couple of days so you will have to keep looking to see how it turns out. http://www.richardfairbrother.com/

To be continued


Wednesday 26 January 2011

Off center turning.

Last night at our woodturning club meeting we had a demo by Chris Pouncy from Robert Sorby.
One of the things Chris demonstrated for us was the Robert Sorby Wobble chuck.
At about £50  00  I think it is very well engineered and good value.
But it is not the only way to do it here is another way.
I have not gone to a Lott of trouble with this as I am a bit pushed for time.
This shows you the way it can be done quite simply.
It can be done this way to create anything from off center goblets to Finials ,Box lids you just need a few scraps off wood to have a play.


The first thing I did was take a bit of Yew branch and rough it down with a spindle roughing roughing gouge,

                                                      Click on pics to make them bigger.

The next thing we need to do is turn a ball on the end which has to fit a set of gripper jaws.
It is essential that you use gripper jaws for this as there is quite a bit of lateral pressure.
The ball has to be a reasonable fit.


The next important thing when you have placed the piece in the jaws is to mark the ball against the jaws with a pencil so that you will be able to return to your original position if required.


Now trim the piece with your spindle roughing gouge ready to off set.
I have set this to the maximum possible off set and brought up the tailstock for the first cut.

This is now ready to turn down very carefully with a spindle gouge taking very fine cuts.


I have now moved the tailstock away and this bit is ready for sanding.
I have used a sanding pad for safety.


If you are worried about sanding when the piece is spinning stop the lathe and do it by hand.
Then I moved the piece in the jaws to the opposite extreme for the next cut.


I have now returned the piece to its original position the pencil lines have made this easy.
It is now parted off as a lid for a box.


Here we have the finished piece it probably took about 15 minutes and was very simple to do.
This is a very simple design because I only did it to show how easy it is.
It would be no harder if it was more complicated.


A couple of important safety points when doing off center turning.

Always wear a full face mask as there is a greater risk of getting a catch and the piece flying off the lathe than with normal spindle turning.
Every time you re Aline the piece make sure it is clear of the tool rest.
Take very fine cute to help avoid getting a catch.

Monday 17 January 2011

Somerset Crafts

 A couple of pics from our Craft centre on the Somerset  levels.
It was opened in September last year and now boasts over 20 makers.

                                                        Click on pics to make them bigger

This is a couple of pics of my display,


Friday 14 January 2011

Free wood

A school local to us has decided to remove a load of trees.
There is every variety you can think of lovely mature trees.
I have collared a van full of mostly Cherry.
I am now about to cut it all up ready for roughing out into bowl and hollow form blanks.

                                                      Click on pics to make them bigger.


I have just had a session of cutting up ready to be rough turned this is about half of what i have got.

The important thing when cutting these up is to cut out the pith because wood always splits away from the pith so if you cut it out you lesson the chances of it splitting.
The next pic shows how to cut out 4 Hollow form blanks while removing the pith.

Another thing some of you probably have trouble with is how to cut out a round bowl blank when the surface is too uneven to mark a circle on.
I keep several plywood circles of different sizes with a hole in the middle.
I simply screw the appropriate sized disc onto the wood and bandsaw around it as the pic shows.


One of the problems you get when cutting up wet wood with the grain is that the fibres are long and thin and very quickly jam up the saw if they are not removed frequently.
As this pic shows this is in spite of using a powerful dust extractor.


This will make a nice bowl.


I have made a start on roughing out but still have a long way to go.
These are all roughed out to an Evan thickness .
Wall thickness approx 10% unless I want the finished bowl to be a bit thicker.


As you can see in this pic i put all my rough turned bowls in carrier bags.They are ideal to control the drying as they have small holes in them and this lets just enough air in to let them dry without splitting (i hope)

I thought i would have a break from roughing out bowls and rough out some Hollow forms.
I had a couple of hours to do a bit this morning so i rough turned they outside of a few ,
I had things to do for most of the day so the ones that i had rough turned i buried in wet shavings to prevent them splitting.


This what i use for holding irregular shaped pieces between centres for roughing down.
It is a 3" faceplate fitted with four sharpened bolts.

This fits easily into my Axminster chuck and is very quick to change.


These are the two tools i use for roughing out the outside of Hollow forms a1 1/2" roughing gouge carbon steel and takes an edge like a razor very fast roughing down tool.
The other one is is a 1/2" long grind bowl gouge.


I managed to find a bit of time at the end of the day to rough out the inside of four Hollow forms.
First i drill to the required depth with a 16mm twist bit in a Jacobs chuck the screw thread on the point has been filed down to prevent the bit pulling itself into the wood.

I always swivel the headstock when hollowing as it makes  it a lot easier on the back.
If you look at the bottom left of the picture you will see the small compressor i use to blow out the residue inside the Hollow form.This is a lot quicker than hooking it out.
I use the 1/2" Kelton scrapers for hollowing out through a small hole and the Roly Munro if i am working through a larger hole.
All i ever use to keep the edge on the Keltons is a diamond hone as pictured.


Here we have a pic of the two pairs of calipers that i use mostly for checking my thickness,


This Hollow form was microwaved for four minutes on defrost allowed to cool and then microwaved a second time.
This is the amount of water that has come out of the piece overnight this just shows how much water would be lost in a very short time if it was not controlled.